Client-side integration guide
Client-side integration guide
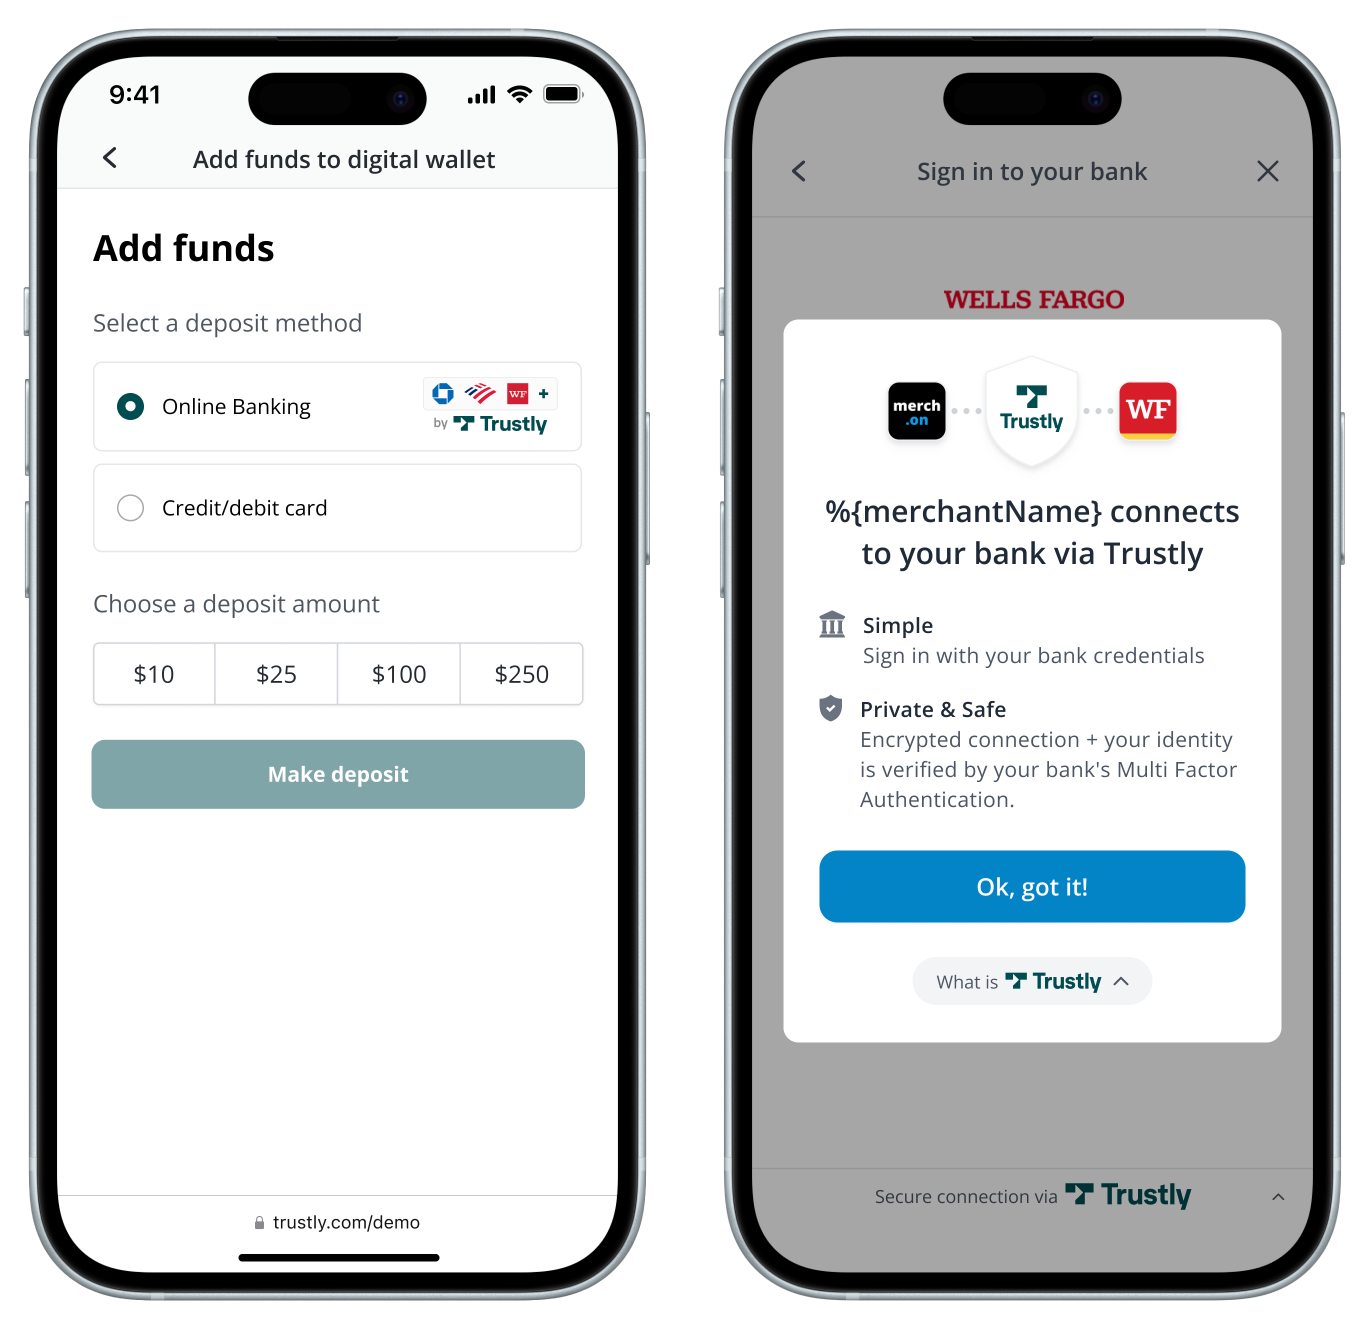
The Trustly client-side integration handles the secure frontend interaction for your application. It initializes the Trustly Lightbox, allowing your users to select their bank and authorize transactions without passing sensitive credentials to your server.
Launching the UI is the prerequisite step for all Trustly payment workflows. You will use this frontend logic to securely authenticate the user and generate the transactionId required by your backend for:
- Instant Payments (One-time transactions)
- Trustly Pay (Recurring or deferred authorizations)
- Payouts (Sending funds to users)
Choose your platform
Trustly provides client-side libraries and SDKs for web and native mobile applications. Choose the platform that matches your architecture:
- Web (JavaScript): Follow the instructions on this page to integrate the JavaScript SDK into your web application.
- Mobile SDKs: If you are building a native mobile app, refer to the specific documentation for your platform: iOS, Android, React Native, or Cordova.
This guide focuses strictly on rendering the user interface for web applications. It does not cover capturing funds, handling webhooks, or managing the transaction lifecycle. For those backend workflows, complete this guide first, then proceed to your specific payment integration guide (for example, Accept Instant Payments).
Roles and responsibilities
Before you start the integration, understand the strict boundary between the client-side application and the backend server.
-
Client-side application (Frontend): Renders the Trustly Lightbox and guides the user through bank selection. The frontend never holds secret keys and never generates security signatures.
-
Backend server (Backend): Stores API keys securely, generates the required requestSignature, captures funds, and processes webhooks.
Prerequisites
- Trustly credentials: You need your
accessIdto initialize the script. You can find this in the Trustly Merchant Portal (Settings > Developer Settings). - Allow lists: Add your development domain to the allow list in your Trustly account settings.
Transaction workflow
The following diagram illustrates the transaction flow and handoff between your client-side application, your backend server, and the Trustly UI. It shows the secure generation of the request signature prior to launching the Lightbox.
The following table details each step of the client-side integration workflow.
Web integration (JavaScript)
To integrate the Trustly Lightbox into your web application, you must set up the JavaScript SDK. This process involves loading the library, defining the transaction payload, and configuring the UI options before initializing the request.
Load the JavaScript library
You must always load the script directly from trustly.one. Do not download, bundle, or host the script from a custom domain.
Include the Trustly JavaScript library on every page where you intend to launch the Trustly Lightbox. Add the following <script> tag to your application page’s <head> or immediately before the closing </body> tag.
Sandbox:
Production:
Replace YOUR_ACCESS_ID with the accessId Trustly provides during onboarding.
Construct the establishData object
To initiate a transaction, you must create a JavaScript object containing the transaction parameters. Trustly refers to this as the establishData object.
Do not pass Personally Identifiable Information (PII) such as names or email addresses in the description field. Pass all customer PII within the customer object.
Example payload
Field requirements
The following fields require specific formatting or logic to ensure security and compliance:
When using native mobile SDKs, you do not need the returnUrl and cancelUrl properties in your establishData object. Instead, the SDKs provide onReturn and onCancel callback functions to handle the responses.
Electronic Gaming Clients: You are required to set verifyCustomer to true and populate the complete customer object for identity verification compliance.
Generate the request signature
All Trustly SDK requests require the requestSignature field. Your backend generates this cryptographic signature to verify the integrity of the transaction parameters. Without a valid requestSignature, the SDK will fail to launch the Lightbox.
Always generate the signature on a secure server. Never expose your API secret key in client-side code.
Example: requestSignature: 'SIGNATURE_FROM_BACKEND' // For example, hash(payload + secretKey)
To generate the signature, see Generate request signatures.
Handle SDK errors
The Trustly SDK may throw errors if the requestSignature is missing, invalid, or mismatched with the transaction payload. Other common SDK errors include missing required fields or failure to load the Trustly script.
For error codes and lifecycle statuses, see the relevant payment workflow topics:
Configure UI options
You can customize the behavior and appearance of the Trustly Lightbox by passing a TrustlyOptions object as the second argument to establish or selectBankWidget. For example:
Initialize the request
Call the SDK function to launch the UI. You can choose between the Select Bank Widget (inline) or the Establish (modal) function.
Select Bank Widget (embedded)
The Select Bank Widget is an optional, inline component that displays the most popular banks and provides a search field. Selecting a bank from the widget opens the Trustly Lightbox.

To render the widget, your TrustlyOptions object must include a widgetContainerId matching the ID of an HTML element on your page.
Launch the Lightbox (standard)
This method typically uses a Pay with Trustly button. When the user clicks the button, your application calls the establish function to open the modal.
Complete HTML example
You cannot run the following example without a valid requestSignature. The SDK will fail to load if this field is missing or incorrect. Before proceeding, use your backend to generate a signature for your test payload. See Generate request signatures to get the code to generate the signature in Node.js or Java.
Mobile SDKs
Trustly provides native SDKs for iOS and Android. These SDKs encapsulate the same Establish workflow described earlier, but handle UI rendering and callbacks natively.
If you are building a native mobile application, refer to the specific documentation for your platform:
When using native mobile SDKs, you do not need the returnUrl and cancelUrl properties in your Establish Data. Instead, the SDKs provide onReturn and onCancel callback functions to handle the responses.
Next steps
After configuring your frontend to launch the UI, you must handle the payment on your server.
- Accept Instant Payments → One-time payment transactions with immediate fund verification.
- Authorize and Capture → Recurring or deferred authorizations with Trustly Pay.