> For clean Markdown of any page, append .md to the page URL.
> For a complete documentation index, see https://amer.developers.trustly.com/llms.txt.
> For full documentation content, see https://amer.developers.trustly.com/llms-full.txt.
> For AI client integration (Claude Code, Cursor, etc.), connect to the MCP server at https://amer.developers.trustly.com/_mcp/server.

# Integrate the client-side SDK

The Trustly client-side SDK handles the secure frontend interaction for your web app. It initializes the Trustly Lightbox, letting your users select their bank and authorize transactions without passing sensitive credentials to your server.

This is the prerequisite step for all Trustly web payment workflows. You’ll use this frontend logic to generate the `transactionId` required by your backend for:

* [Instant Payments](/integrate/accept-payments/instant-payments) (One-time transactions)
* [Trustly Pay](/integrate/accept-payments/trustly-pay) (Recurring or deferred authorizations)
* [Payouts](/integrate/send-money/send-payouts-using-online-banking) (Sending funds to users)

This guide focuses strictly on rendering the user interface. It does not cover:

* Capturing or sending funds
* Handling webhooks
* Managing the transaction lifecycle

For those workflows, complete this guide first, then proceed to [Accept Instant Payments](/integrate/accept-payments/instant-payments) or [Authorize and capture](/integrate/accept-payments/trustly-pay).

### Roles and responsibilities

Before you start the integration, understand the strict boundary between the client-side application and the backend server.

* **Client-side application (Frontend):** Renders the Trustly Lightbox and guides the user through bank selection. The frontend never holds secret keys and never generates security signatures.

* **Backend server (Backend):** Stores API keys securely, generates the required requestSignature, captures funds, and processes webhooks.

### Transaction workflow

The following diagram illustrates the transaction flow and handoff between your client-side application, your backend server, and the Trustly UI. It shows the secure generation of the request signature prior to launching the Lightbox.

```mermaid
sequenceDiagram
  participant User
  participant Client as Merchant Frontend
  participant Server as Merchant Backend
  participant Trustly as Trustly UI / API

  User->>Client: A
  Client->>Server: B
  Server-->>Client: C
  Client->>Trustly: D
  Trustly-->>User: E
  User->>Trustly: F
  Trustly-->>Client: G
  Trustly-)Server: H
```

The following table details each step of the client-side integration workflow.

| Workflow Step | Action                   | Description                                                                                                                            |
| :------------ | :----------------------- | :------------------------------------------------------------------------------------------------------------------------------------- |
| **A**         | User initiates payment   | The user clicks a checkout button, such as **Pay with Trustly**, on your client-side application.                                      |
| **B**         | Client requests payload  | Your frontend requests the `establishData` object and cryptographic signature from your secure backend server.                         |
| **C**         | Server generates payload | Your backend securely generates the `requestSignature` using your secret key and returns the complete, signed payload to the frontend. |
| **D**         | Client calls SDK         | Your frontend calls the Trustly SDK (`Trustly.establish`) using the securely signed payload.                                           |
| **E**         | Trustly launches UI      | The Trustly Lightbox opens, prompting the user to select their financial institution.                                                  |
| **F**         | User authenticates       | The user signs into their online banking securely within the Lightbox and authorizes the transaction.                                  |
| **G**         | Redirect to URL          | Trustly closes the Lightbox and redirects the user back to your frontend through the `returnUrl` (or `cancelUrl` if they aborted).     |
| **H**         | Webhook notification     | Trustly sends an asynchronous webhook event to your backend server confirming the final transaction status (Authorized).               |

### Prerequisites

* **Trustly credentials:** You need your `accessId` to initialize the script. You can find this in the Trustly Merchant Portal (**Settings** > **Developer Settings**).
* **Allow lists:** Add your development domain to the allow list in your Trustly account settings.

### Web integration (JavaScript)

To integrate the Trustly Lightbox into your web application, you must set up the JavaScript SDK. This process involves loading the library, defining the transaction payload, and configuring the UI options before initializing the request.

### Load the JavaScript library

You must always load the script directly from `trustly.one`. Do not download, bundle, or host the script from a custom domain.

Include the Trustly JavaScript library on every page where you intend to launch the Trustly Lightbox. Add the following `<script>` tag to your application page's `<head>` or immediately before the closing `</body>` tag.

**Sandbox**:

```html
 <script src="https://sandbox.trustly.one/start/scripts/trustly.js?accessId=YOUR_ACCESS_ID"></script>
```

**Production**:

```html
<script src="https://trustly.one/start/scripts/trustly.js?accessId=YOUR_ACCESS_ID"></script>
```

Replace YOUR\_ACCESS\_ID with the `accessId`  Trustly provides during onboarding.

### Construct the Establish Data object

To initiate a transaction, you must create a JavaScript object containing the transaction parameters. Trustly refers to this as the Establish Data object.

Do not pass Personally Identifiable Information (PII) such as names or email addresses in the `description` field. Pass all customer PII within the `customer` object.

##### Example payload

```json
{
  "merchantId": "YOUR_MERCHANT_ID",
  "accessId": "YOUR_ACCESS_ID",
  "requestSignature": "&#123;requestSignature&#125;",
  "merchantReference": "&#123;unique_merchant_payment_identifier&#125;",
  "description": "any additional user-friendly descriptive information for the payment",
  "paymentType": "Deferred",
  "currency": "USD",
  "amount": "0.00",
  "customer": {
    "name": "Joe User",
    "email": "joe.user@email.com",
    "address": {
      "address1": "2000 Broadway St",
      "city": "Redwood City",
      "state": "CA",
      "zip": "94063",
      "country": "US"
    }
  },
  "returnUrl": "https://yourapp.com/path/return",
  "cancelUrl": "https://yourapp.com/path/cancel"
}
```

##### Field requirements

The following fields require specific formatting or logic to ensure security and compliance:

| Field               | Requirement and Logic                                                                                                                                                                                  |
| :------------------ | :----------------------------------------------------------------------------------------------------------------------------------------------------------------------------------------------------- |
| `paymentType`       | **Required.** The workflow type. Use `Instant` for one-time payments. Use `Deferred` for Trustly Pay (long-running authorizations).                                                                    |
| `requestSignature`  | **Required.** Calculate a cryptographic signature on your backend server to secure the request payload. See [Securing requests](/integrate/api-fundamentals/secure-requests-and-signature-validation). |
| `amount`            | • Set to `0.00` for an open-ended authorization (no upper limit).<br />• Enter a specific value (for example, `100.00`) to define a maximum limit for the authorization.                               |
| `displayAmount`     | If you set `amount` to `0.00` or include fees not yet captured, use this field to display the correct estimated total to the user within the Lightbox.                                                 |
| `verifyCustomer`    | **Electronic Gaming Clients Only:** Set to `true` to trigger necessary identity verification checks.                                                                                                   |
| `customer`          | Pass all Personally Identifiable Information (PII) such as name and email in this object. Do not pass PII in the `description` field.                                                                  |
| `merchantReference` | **Required.** Provide a unique reference for each transaction to avoid duplicates.                                                                                                                     |

**Electronic Gaming Clients:** You are required to set `verifyCustomer` to `true` and populate the complete `customer` object for identity verification compliance.

### Generate the request signature

All Trustly SDK requests require the `requestSignature` field. Your backend generates this cryptographic signature to verify the integrity of the transaction parameters. Without a valid `requestSignature`, the SDK will fail to launch the Lightbox.

Always generate the signature on a secure server. Never expose your API secret key in client-side code.

Example: `requestSignature: 'SIGNATURE_FROM_BACKEND' // For example, hash(payload + secretKey)`

To generate the signature, see [Generate request signatures](/integrate/api-fundamentals/secure-requests-and-signature-validation/generate-request-signatures).

### Handle SDK errors

The Trustly SDK may throw errors if the `requestSignature` is missing, invalid, or mismatched with the transaction payload. Other common SDK errors include missing required fields or failure to load the Trustly script.

For error codes and lifecycle statuses, see the relevant payment workflow topics:

* [Accept Instant Payments](/integrate/accept-payments/instant-payments)
* [Authorize and capture](/integrate/accept-payments/trustly-pay)

### Configure UI options

You can customize the behavior and appearance of the Trustly Lightbox by passing a `TrustlyOptions` object as the second argument to `establish` or `selectBankWidget`. For example:

```javascript
let TrustlyOptions = {
  hideCloseButton: true,
  dragAndDrop: true
};
```

| Parameter            | Description                                                                                                     |
| :------------------- | :-------------------------------------------------------------------------------------------------------------- |
| `hideBack`           | If `true`, hides the back button (`<`) within the Trustly Lightbox. Default is `false`.                         |
| `hideCloseButton`    | If `true`, hides the close button ('x'). Default is `false`.                                                    |
| `hideSelectBankBack` | If `true`, hides the back button **only** on the Select Bank screen. Default is `false`.                        |
| `dragAndDrop`        | If `true`, allows the user to drag the Trustly Lightbox modal. Default is `true`.                               |
| `widgetContainerId`  | Required for `selectBankWidget`. Specifies the ID of the HTML element to contain the widget. Default is `null`. |

### Initialize the request

Call the SDK function to launch the UI. You can choose between the Select Bank Widget (inline) or the Establish (modal) function.

| Function           | Description                                                                                                             |
| :----------------- | :---------------------------------------------------------------------------------------------------------------------- |
| `establish`        | **Launch with button:** Launches the full-page Lightbox directly. Best for standard checkout flows.                     |
| `selectBankWidget` | **Embedded Widget:** Renders an inline component displaying popular banks. Selecting a bank opens the Trustly Lightbox. |

##### Select Bank Widget (embedded)

The Select Bank Widget is an optional, inline component that displays the most popular banks and provides a search field. Selecting a bank from the widget opens the Trustly Lightbox.

![](https://files.buildwithfern.com/trustly.docs.buildwithfern.com/9db28589843da511b967027d792404c6df7811660efbec4b89d0e538f00b1b94/docs/assets/north-america/9881a49-Payment_Options.png)

To render the widget, your `TrustlyOptions` object must include a `widgetContainerId` matching the ID of an HTML element on your page.

```javascript
let TrustlyOptions = {
  widgetContainerId: "trustly-widget-id" // The ID of the <div> where the widget will render
};

Trustly.selectBankWidget(establishData, TrustlyOptions);
```

##### Launch the Lightbox (standard)

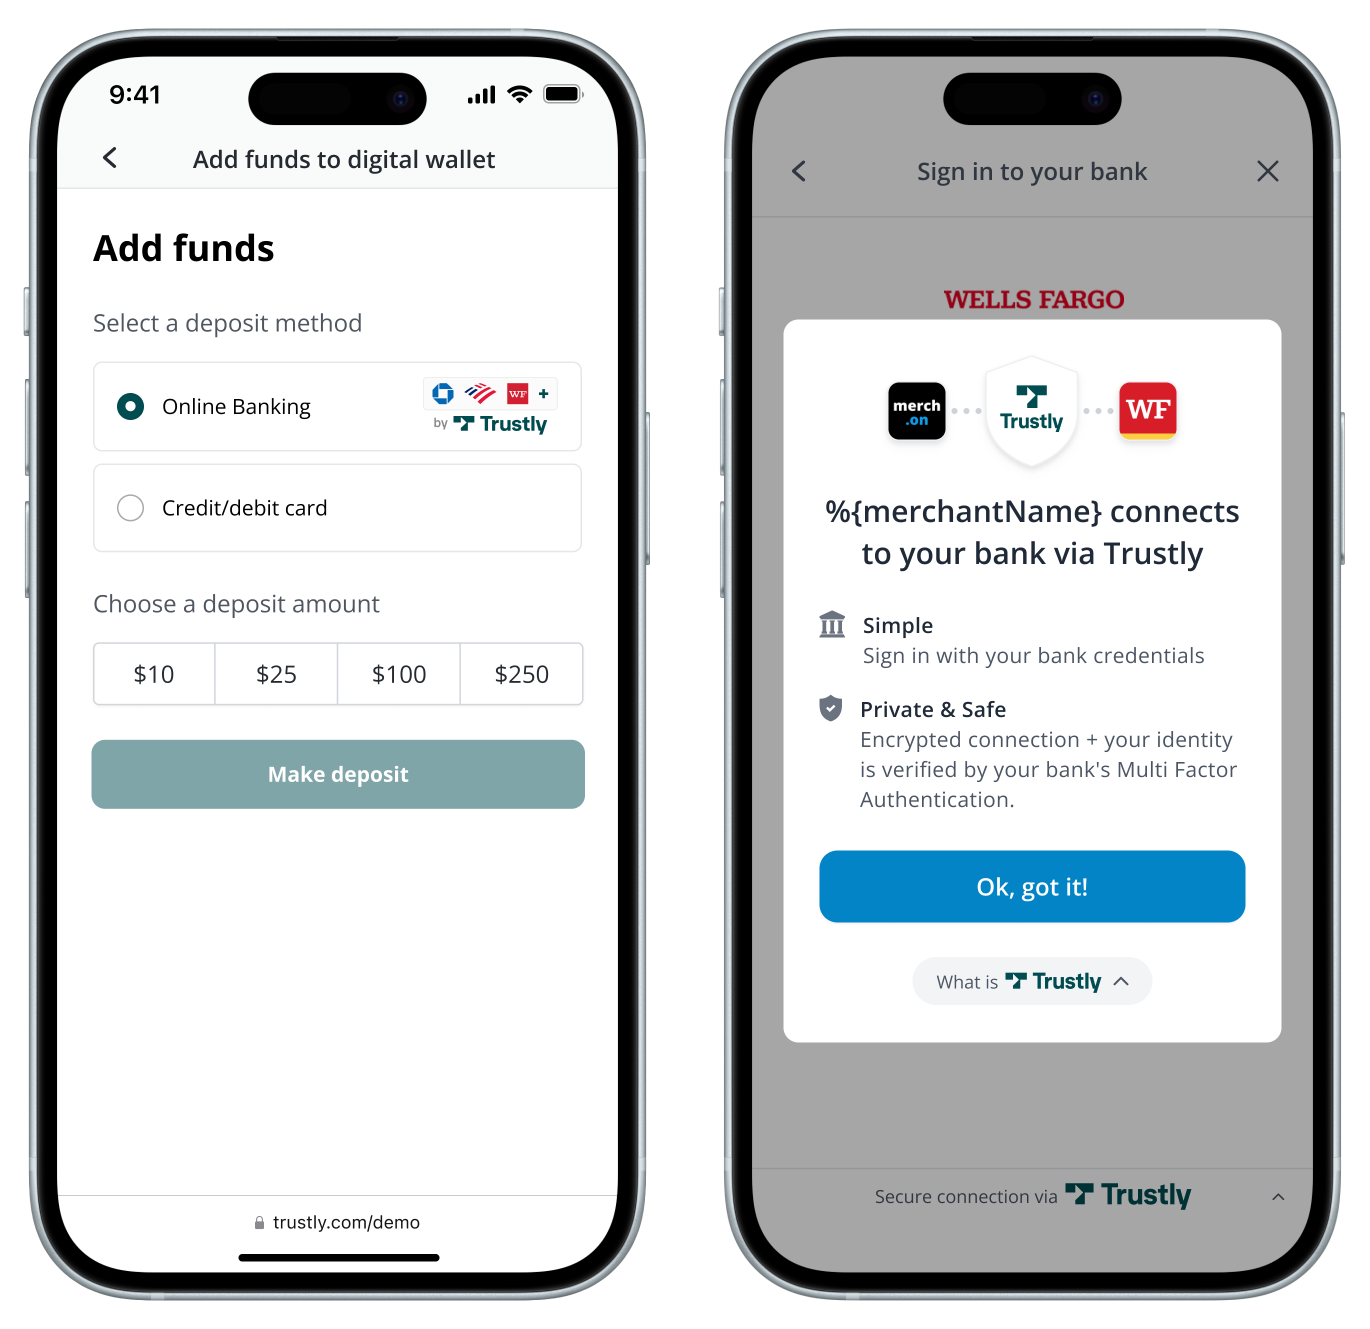
This method typically uses a **Pay with Trustly** button. When the user clicks the button, your application calls the establish function to open the modal.

![](https://files.buildwithfern.com/trustly.docs.buildwithfern.com/ade5be97f85522bf95d535b9ad878311a6d942fed540a8fcdf38a769fd7b3381/docs/assets/north-america/c59cfa3-Widget_lightbox2.png)

```javascript
// Call this when the user clicks your payment button
Trustly.establish(establishData, TrustlyOptions);
```

### Test with a complete example

#### Complete HTML example

You cannot run the following example without a valid `requestSignature`. The SDK will fail to load if this field is missing or incorrect. Before proceeding, use your backend to generate a signature for your test payload. See [Generate request signatures](/integrate/api-fundamentals/secure-requests-and-signature-validation/generate-request-signatures) to get the code to generate the signature in Node.js or Java.

```html
<html>
  <head>
    <meta name="viewport" content="width=device-width, initial-scale=1" />
    <script>
      var TrustlyOptions = {
        closeButton: false,
        dragAndDrop: true,
        widgetContainerId: 'widget'
      };
    </script>
    <script src="https://sandbox.trustly.one/start/scripts/trustly.js?accessId=YOUR_ACCESS_ID"></script>
  </head>
  <body style="margin: 0;">
    <div id="widget"></div>
    <script>
      var establishData = {
        accessId: 'YOUR_ACCESS_ID',
        merchantId: 'YOUR_MERCHANT_ID',
        merchantReference: 'UNIQUE_REF_123', // Must be unique per transaction
        description: 'transaction description',
        currency: 'USD',
        amount: '0.00',
        paymentType: 'Deferred', // Use 'Instant' for one-time payments
        requestSignature: 'SIGNATURE_FROM_BACKEND', // generate this server-side
        customer: {
          name: 'John Smith',
          address: {
            country: 'US'
          }
        },
        returnUrl: 'https://merchant.com/return',
        cancelUrl: 'https://merchant.com/cancel'
      };

      Trustly.selectBankWidget(establishData, TrustlyOptions);
    </script>
  </body>
</html>
```

### Mobile SDKs

Trustly provides native SDKs for iOS and Android. These SDKs encapsulate the same Establish workflow described earlier, but handle UI rendering and callbacks natively.

If you are building a native mobile application, refer to the specific documentation for your platform:

* [iOS](/sdks/mobile/i-os)
* [Android](/sdks/mobile/android)
* [React Native](/sdks/mobile/react-native)
* [Cordova](/sdks/mobile/cordova)

When using native mobile SDKs, you do not need the `returnUrl` and `cancelUrl` properties in your Establish Data. Instead, the SDKs provide `onReturn` and `onCancel` callback functions to handle the responses.

### Next steps

After configuring your frontend to launch the UI, you must handle the payment on your server.

One-time payment transactions with immediate fund verification.

Recurring or deferred authorizations with Trustly Pay.